
Measure twice, think twice, cut once.
Log building and repair workshop by the Museum of North Ostrobothnia
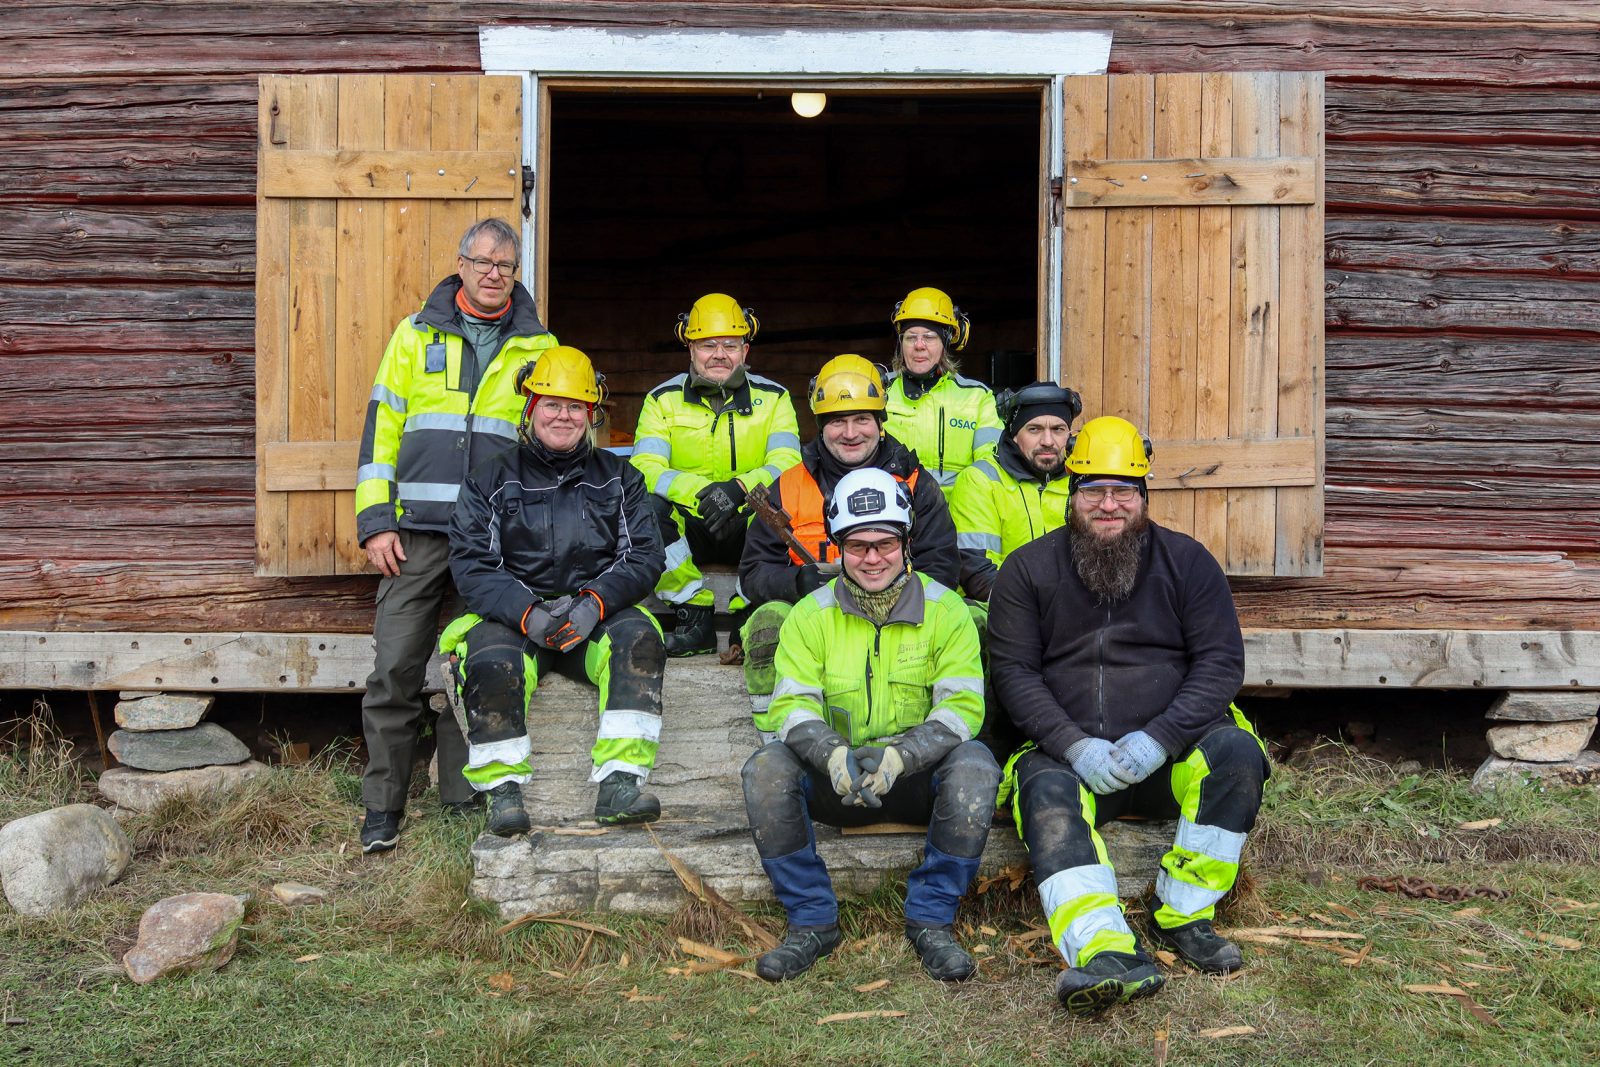
The Museum of North Ostrobothnia, part of the Oulu Museum and Science Centre, organised a log building and repair workshop for students of the Oulu Vocational College OSAO in Pudasjärvi on 17–19 October 2023. As a regional museum, we develop restoration skills by participating in training activities in cooperation with educational institutions in the region.
From our museum, renovation expert Timo Kortetjärvi, renovation architect Raimo Tikka and museum researcher Johanna Latvamäki attended the workshop in Pudasjärvi. We chose the old Hirvaskoski ironworks in Pudasjärvi, built in 1826, as the location for the autumn 2023 workshop.
Most of the old buildings in Northern Ostrobothnia are made of logs. Training and cooperation with educational institutions is an important part of maintaining expertise in traditional building and repair methods. Information and practical advice are an essential part of repair advice. In the following article you will find tips from renovation experts on the different stages of log building and repair.

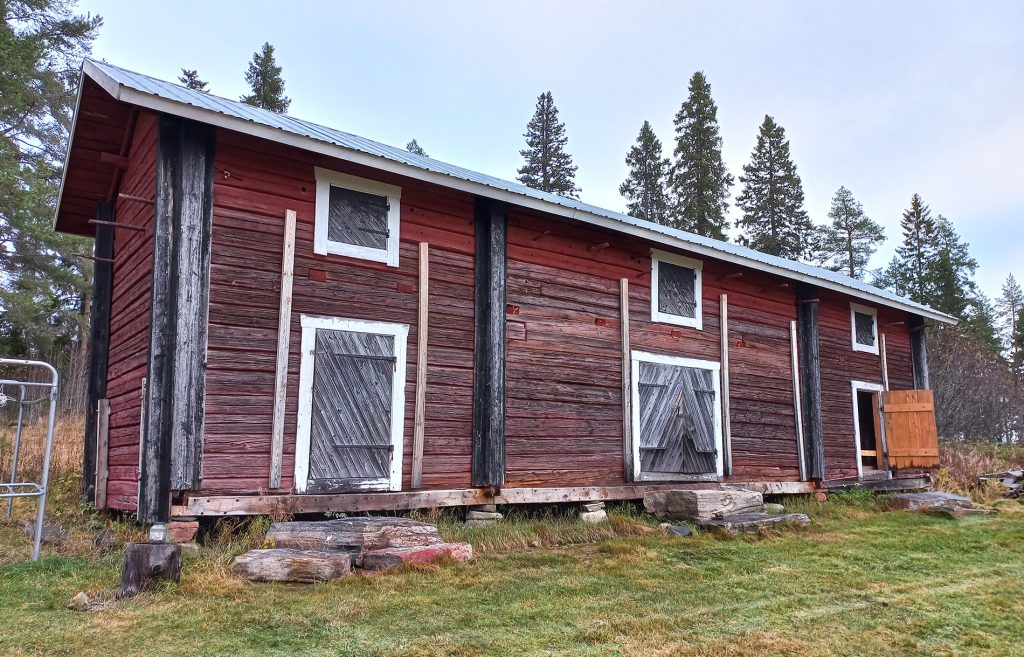
The storehouse in Pudasjärvi seen from the front.
Hirvaskoski manor and storehouse
The historic Hirvaskoski Manor is located in the north-eastern part of Pudasjärvi, in the village of Hirvaskoski. Hirvaskoski Manor and farm have been owned by the same family since the 19th century. Today the manor is used for accommodation and banquets.
The storehouse, along with the main building and the granary, is the only old building on the estate that still reminds us of the old days. The storehouse has three separate rooms: the oil store, the food store and the wringer room. Each section has played an important role in its time. The lowest logs in the building were partly rotten and needed to be replaced.
Damage mapping and the most common causes of damage
Careful groundwork is essential when preparing for log replacement. A damage survey is carried out on the logs to be replaced and existing problem areas are identified and investigated. The cause of the current damage must be investigated so that the same problem does not occur again in the future and the condition of the building is not compromised.
The most common cause of damage is damp rising from the ground. Over time, the building can sink closer to the ground. Soil movement, poor foundations and structural problems can all cause subsidence. The grass and grit on the ground also increase the thickness of the mulch layer over time. In the case of the Pudasjärvi storage building, water running off the roof of a neighbouring building contributed to the damage to the lowest logs. If the building does not have gutters, water from the roof can splash onto the lower part of the wall.
Log houses often have rot damage under the windows. If the water stops and the drip trays on the windows are not in good condition, water will be able to dampen the logs. In the past, buildings were heated by stoves and fireplaces. Heating causes condensation to form between poorly sealed windows, which over time can damage the logs.
In addition, there are often areas that need patching on the top floor of the building and at the base of chimneys. At the top of the wall, moisture can sometimes condense in the thermal insulation layers of the upper floor. The outer corners of the building can be damaged if moisture is allowed to build up on the plasterboard walls. Corner plastering helps to keep projecting corners dry.
SOURCING OF MATERIALS
The site manager arranges for the repair material, i.e. logs and tools, to be delivered to the site. In Pudasjärvi, the logs were taken from the owner’s own forest and cut with a field saw. The best way to get square logs is to buy them directly from sawmills or to saw them from your own logs. A square log is a log that has been sawn or carved straight on two opposite sides. Pine is the most common wood for square logs in Finland. Square logs are not available in hardware stores. Sometimes sturdy beams, which can be found in hardware stores, can be used as replacement logs.
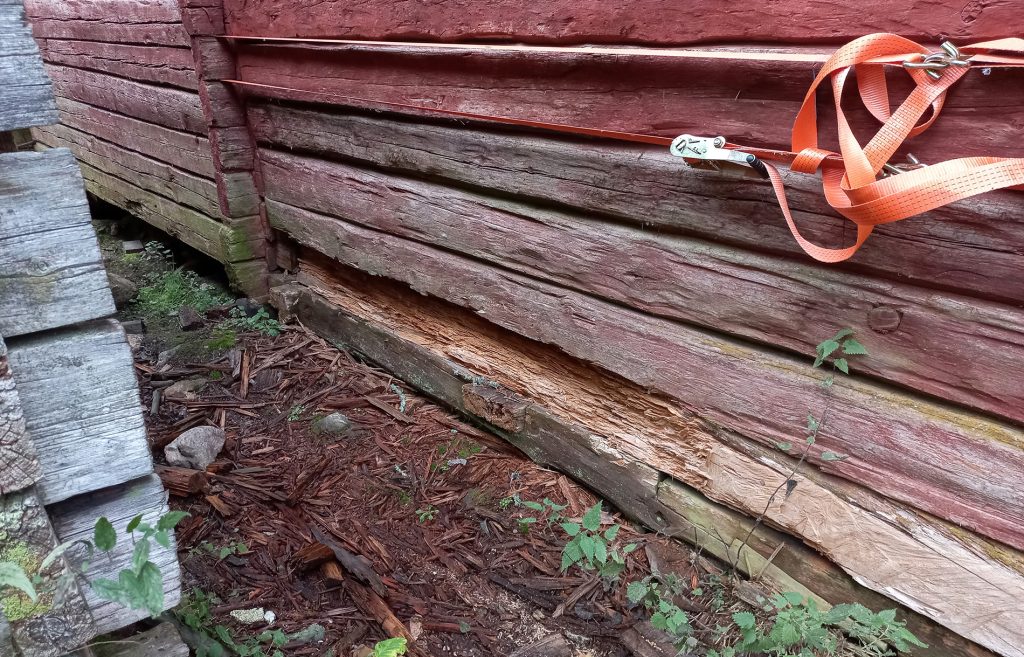
One of the damaged logs that were replaced in the storage building at Pudasjärvi.
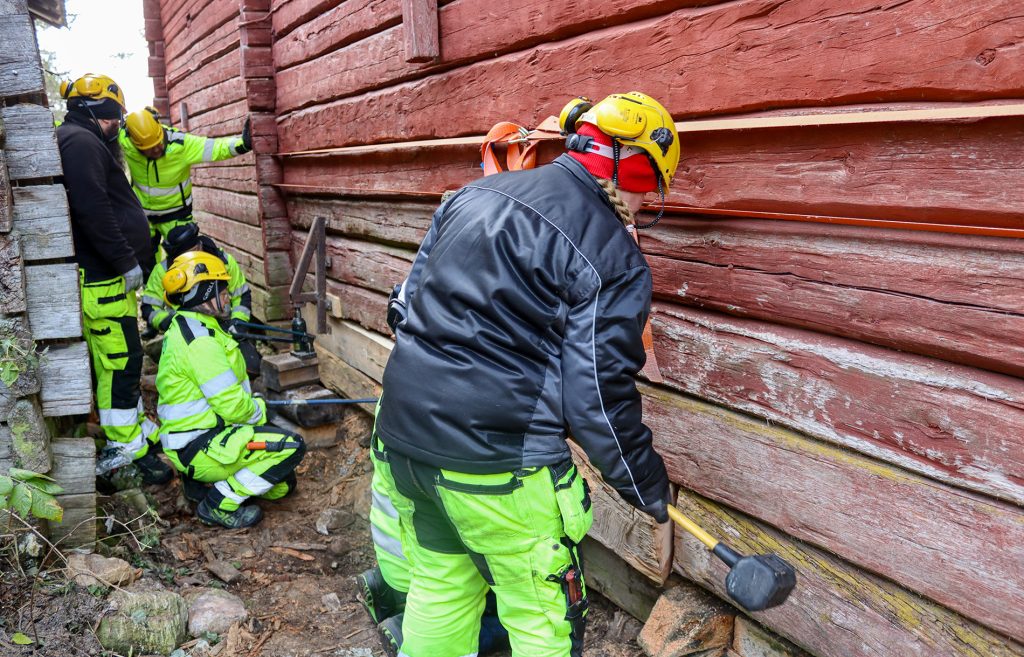
Supporting and lifting the building
One of the most time consuming steps is planning the lift and lifting the building. Preparing the lifting points and supporting the building usually takes one or two full working days. Support is provided by planks bolted to the building and scaffolding beams. The planks were bolted to the wall for two different purposes. The log under the door, which was holding the building together, had to be removed. The structural integrity of the wall was maintained by bolting a plank over the door. The sill log under the doorway was removed, allowing the wall to move unless properly supported.
The walls were held in place with diagonal braces so that the building could be lifted without losing its shape. An unpinned log wall can change its shape to a diagonal or slip into an oval when lifted. To prevent this, diagonal braces must be bolted to the walls.
It is important to find out where the building can be lifted so that jacks and other lifting equipment will not be in the way of the repairers later. Lifting points are often best placed on the inside of the wall. At this stage, the floors of the building also need to be opened up so that the lifting equipment can be attached to the walls and the jacks can be supported on the floor. In Pudasjärvi, the lifting points were wall-bolted scaffolding and lifting rods.
Fireplaces, firewalls and chimneys must be disconnected from surrounding structures before lifting. Lifting is carried out little by little, trying to lift at a steady pace from different points to avoid twisting the building. The jacks used for lifting are not sensitive, so the building must be monitored throughout the lifting process to ensure that nothing is twisted or broken, such as roof structures or chimneys.
As the lifting progresses, blocks are added underneath to ensure that the building does not collapse if the jacks fail. There are considerable forces involved in working with jacks. Without proper support, there is a risk of being crushed if the jack fails. Lifting equipment can also be thrown with great force into the surrounding area. Safety at work is of paramount importance when planning and installing a lift.
Removing a log
It is usually easy to remove a single log if the building has been well lifted. If there are pegs between the logs, they may need to be broken to allow successful removal. In some cases, the foundation stones of a building are moved out of place to allow the log to move down.
Removal is a quick operation if the log is in an unobstructed position. The situation becomes more difficult if there is no direct access to the log. Partition walls, oven backs and other confined spaces present their own challenges for removal. Old logs may need to be pulled out from under the building with ropes. Getting a new log into the middle of the building is also a challenge. The damaged log from the Pudasjärvi building was in a clear spot on the outside wall and was easy to remove.
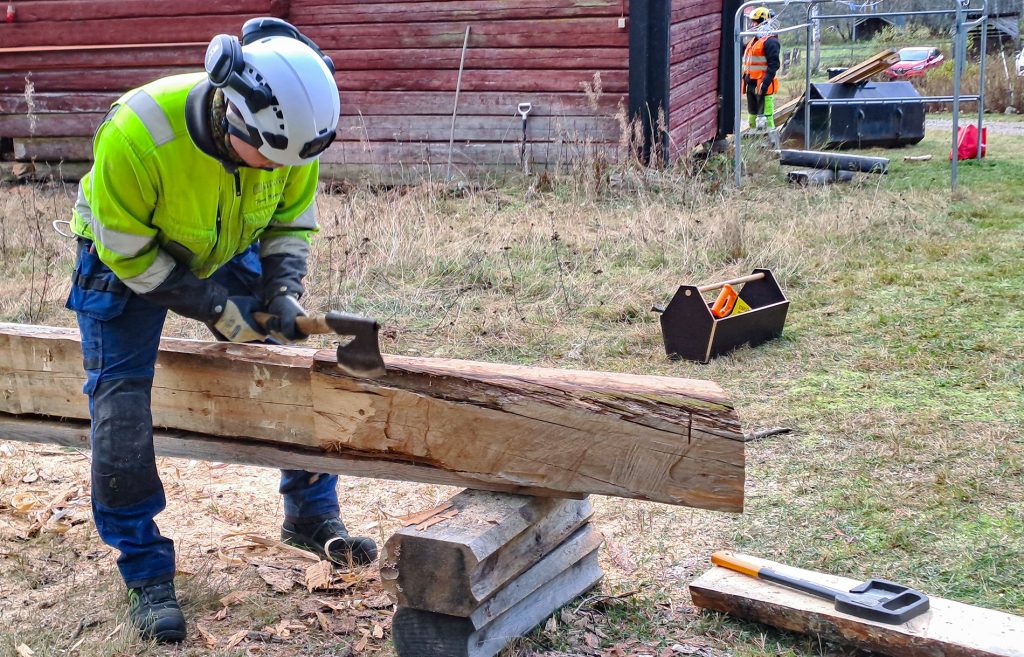
Timo Kortetjärvi hews a log with a hatchet.
The patched log
In some cases it is not necessary to replace the old log with a completely new one, but the original log can be repaired. The rotten part of the log is sawn off and healthy wood is put in its place. This is done with wooden pegs so that no metal parts are left inside the log to complicate the work of future renovators. In warm buildings, metal parts can form cold bridges and cause condensation on cold surfaces.
Making the right size patch requires accurate measurements. The shape of the log to be repaired has to be drawn, and the new log is carved according to the drawing. The lower level of the building was made of strong beams, so replacing the log was relatively easy. The patching stage usually takes a couple of hours.
The new log
A completely new replacement log can be cut with a hatchet. A hewn surface is more resistant to weathering than a sawn surface, and it also makes the patch stand out less from the wall.
Hewing a separate log is a quick job and takes only a moment for a professional. Hewing a log that is already built into the wall is more difficult. Hewing old and dry logs requires very sharp tools. The wood used to repair the log in the shed had been dried for about three years and was still reasonably easy to work with.
Mounting the log
The log is placed back into the opening in the wall. The wall above is pushed up to widen the gap and allow the log to slide back into place. The log may not always slide back into place automatically and may need to be assisted by tools. A rubber hammer and crowbars have been used to get the log back into the wall. It is not advisable to hit the log directly as there is a risk of breaking it. A block of wood was used as a spacer to transfer the impact to the log in a controlled manner.
The log is pushed back into place using a rubber hammer.
Tools and safety equipment used at the Pudasjärvi restoration site
Renovation expert Timo Kortetjärvi arranged for the right tools for the log shaping workshop. He also instructed the students to bring the right tools and safety equipment. The tools needed for cutting and replacing the logs were included:
- M20 threaded rod, spacers and nuts
- 12 mm deck bolts for diagonals and supports
- beams for supporting the walls
- pieces of log for building trestles and props
- axes for hewing
- rubber hammers
- crosshair laser for measuring the straightness of the building
- chainsaws for shaping and cutting the logs
- drill for drilling peg holes
- four bottle jacks
- bolting machine for bolting and supporting the lifting points
- an iron bar and crowbar for working logs and stones into place
- spirit levels
Safety is considered at every stage. Work equipment includes safety shoes, safety clothing with reflectors, safety helmets and goggles, and hearing protection.
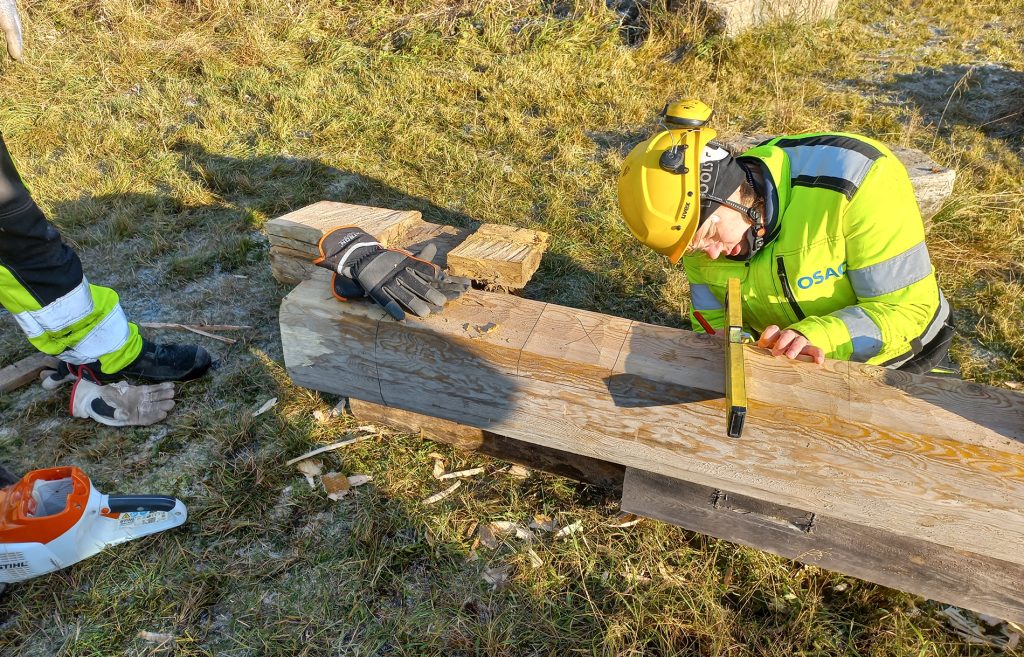
The corner joint of the new log is drawn exactly from the old model.
The storehouse after the workshop
The buildings will be returned to their original use next spring. The oil store will probably continue to be used for storage. The food store has proved to be a useful and popular lounge area for various events, and the wringer room will house the wringer and perhaps other museum material. The owners dream of using the oil store as a museum-like space in the future.
Developing restoration expertise in Northern Ostrobothnia
From the Museum of Northern Ostrobothnia’s point of view, the log restoration workshop was very successful. The workshop allowed us to offer students practical training in log building under the guidance of more experienced restorers. The students were able to learn about techniques, materials and tools that were new to them. The future restoration experts gained concrete experience that they will be able to use later in their careers.
Renovation in the Region of Northern Ostrobothnia is part of sustainable development. The existing buildings are repaired, improved and maintained to extend its useful life. As a regionally responsible museum, we take sustainability into account in all our activities and work to ensure that there will be builders in our region in the future.
Kirjoittajat ja neuvontapyynnöt


Article sources:
Interviews:
Timo Kortetjärvi, Renovation expert , Oulu Museum and Science Centre / Northern Ostrobothnia Museum
Briitta Kupsala, Restoration art student, OSAO
Elisa Laakso, Hirvaskoski kartano Oy
Venla Malila, Restoration art student, OSAO
Raimo Tikka, Renovation Architect, Oulu Museum and Science Centre / Northern Ostrobothnia Museum
Text and photographs:
Museum researcher Johanna Latvamäki and Renovation expert Timo Kortetjärvi, Northern Ostrobothnia Museum